If you missed the first installment of my nail trimming blog, read it here!
Trimming the Nails
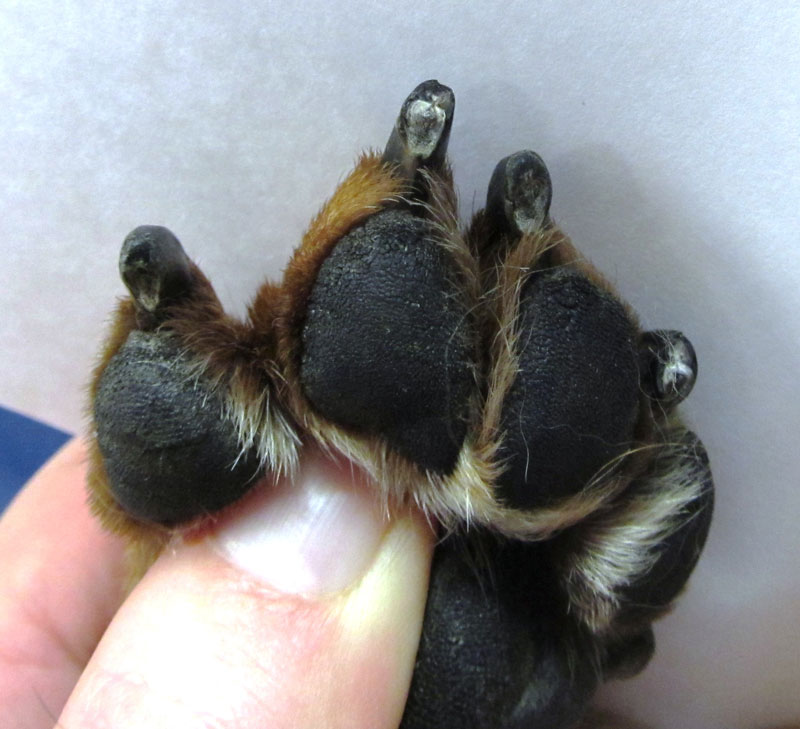
Now that your dog allows the nail trimmers to touch his toe nails, you can begin to actually cut the nails. I prefer to have my dog lay on her side for the nail trimming process, but whatever position your pet is most comfortable will work best.
The scariest part about trimming nails is the possibility that you will hurt (aka “quick”) the dog and make him bleed. At times this can happen even with the most veteran of nail trimming pros. However, we want to minimize any discomfort he may experience so that the nail trims are always a positive experience for your dog. We can minimize “quicking” the nails by understanding the structure of the toe nail.
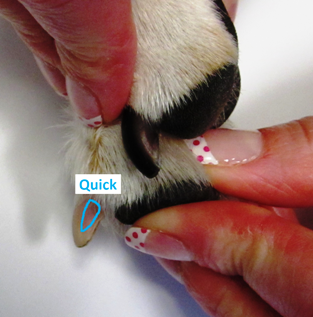
The quick is in the center of the toe nail and has nerves and a blood supply. Much like our own finger nails, trimming just down to the quick or “pink part” does not hurt, but trimming below that can cause some discomfort.
It is easy to identify the quick when your dog has clear or white nails. However, it is more difficult when your dog has dark nails. If your pooch has white nails you can simply trim the nails a few millimeters shy of the quick.
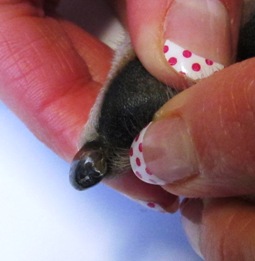
Bruiser’s nail still looks “flaky”, so it’s ok to trim a bit more
If your dog has dark nails you will have to slowly “whittle” the nail down until you locate the quick. Each dog has a different length of quick that is not dependent on the length of the toe nail itself (i.e. some may have long nails in which the quick goes almost to the tip of the nail, while others may have long nails and the quick is quite short, allowing the nail to be trimmed much shorter).
Start by just trimming the tip of your dog’s nail, then assess the blunt cut-off edge of that toe nail to check for the quick. If the nail is dry, flaky and/or whitish-gray colored then you have not reached the quick yet and it is ok to trim more nail.
Continue to “whittle” down your dog’s nail until the blunt edge of the nail starts to appear moist and/or pink. At this point you have trimmed just to the quick without causing any discomfort to your pooch.
I know Ruby’s nail is trimmed to the quick because the center looks “moist”
Now that you have successfully trimmed one of your pooch’s nails, you will have a better idea of where you can begin trimming the other nails and still be a safe distance from the quick. The process will go much faster at this point (FYI, the back nails may have a different length of quick than the front, so I recommend “whittling” down one back toe nail as well when you are first learning to trim). After multiple nail trimming sessions you will develop a knack for the where the quick is located and you will likely be able to make one precise cut per nail instead of “whittling” down the nails slowly.
Equipment
If you do not own a pair of nail trimmers, I recommend the kind that look like small gardening shears. Use a size that is appropriate for the thickness of your pooch’s nails.
Nail Trimmers
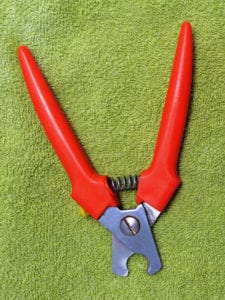
These types of trimmers are easy to hold in your hand, making it easier to do the small precision cuts that are needed when you are “whittling” down the nail. I would also recommend picking up a small bottle of “quick stop” or a styptic powder in case you trim a nail too far back. A little dab of “quick stop” on the nail will stop the bleeding within 10 – 15 seconds. Both of these items can be found at most local pet stores.
What's Next
Call us or schedule an appointment online.
Meet with a doctor for an initial exam.
Put a plan together for your pet.
